Modelling concepts
In order to start modelling on the panoramas there are some topics that we should took in care:
-
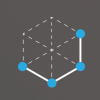
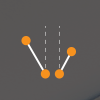
1.- Vertical lines the most basic concept
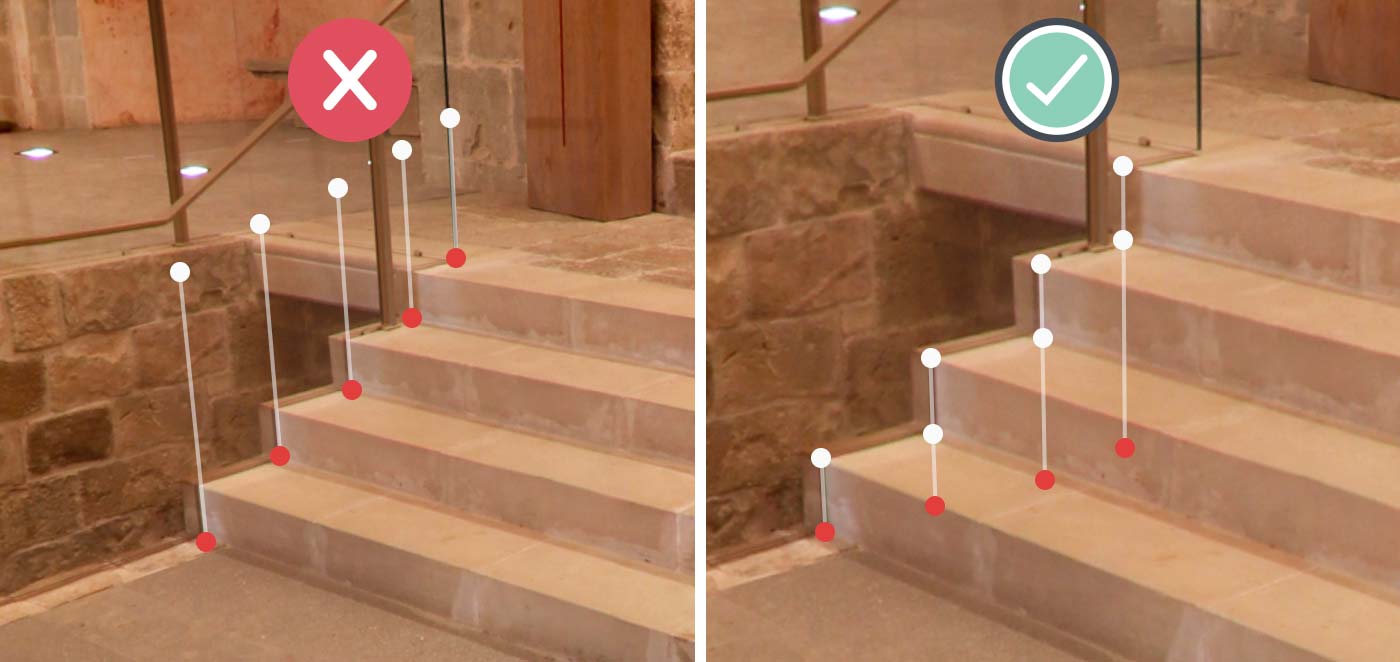
The red point on the vertical line will always represent a point on the ground ( ground understood as the camera height ). Check this video to see how those lines were correctly created
-
2.- Keep it simple
Always try to simplify as much as possible the geometry of the model. By using the cube tool or the extruded polygon you will make simple yet defined models
-
3.- The model
Once 2 or more panoramas are related through references, they belong to the same model, and so the geometry is shared, and so we don't have to be modelling everything from every pano, and we can model elements from it's best point of view.
Check the full video -
4.- Fine tune
You will notice that once the geometry is projected from one pano to another, there can be slightly differences. That's where fine tune comes in. You can adjust every single vertex to make fit the model to the current panorama.
Check the full video -
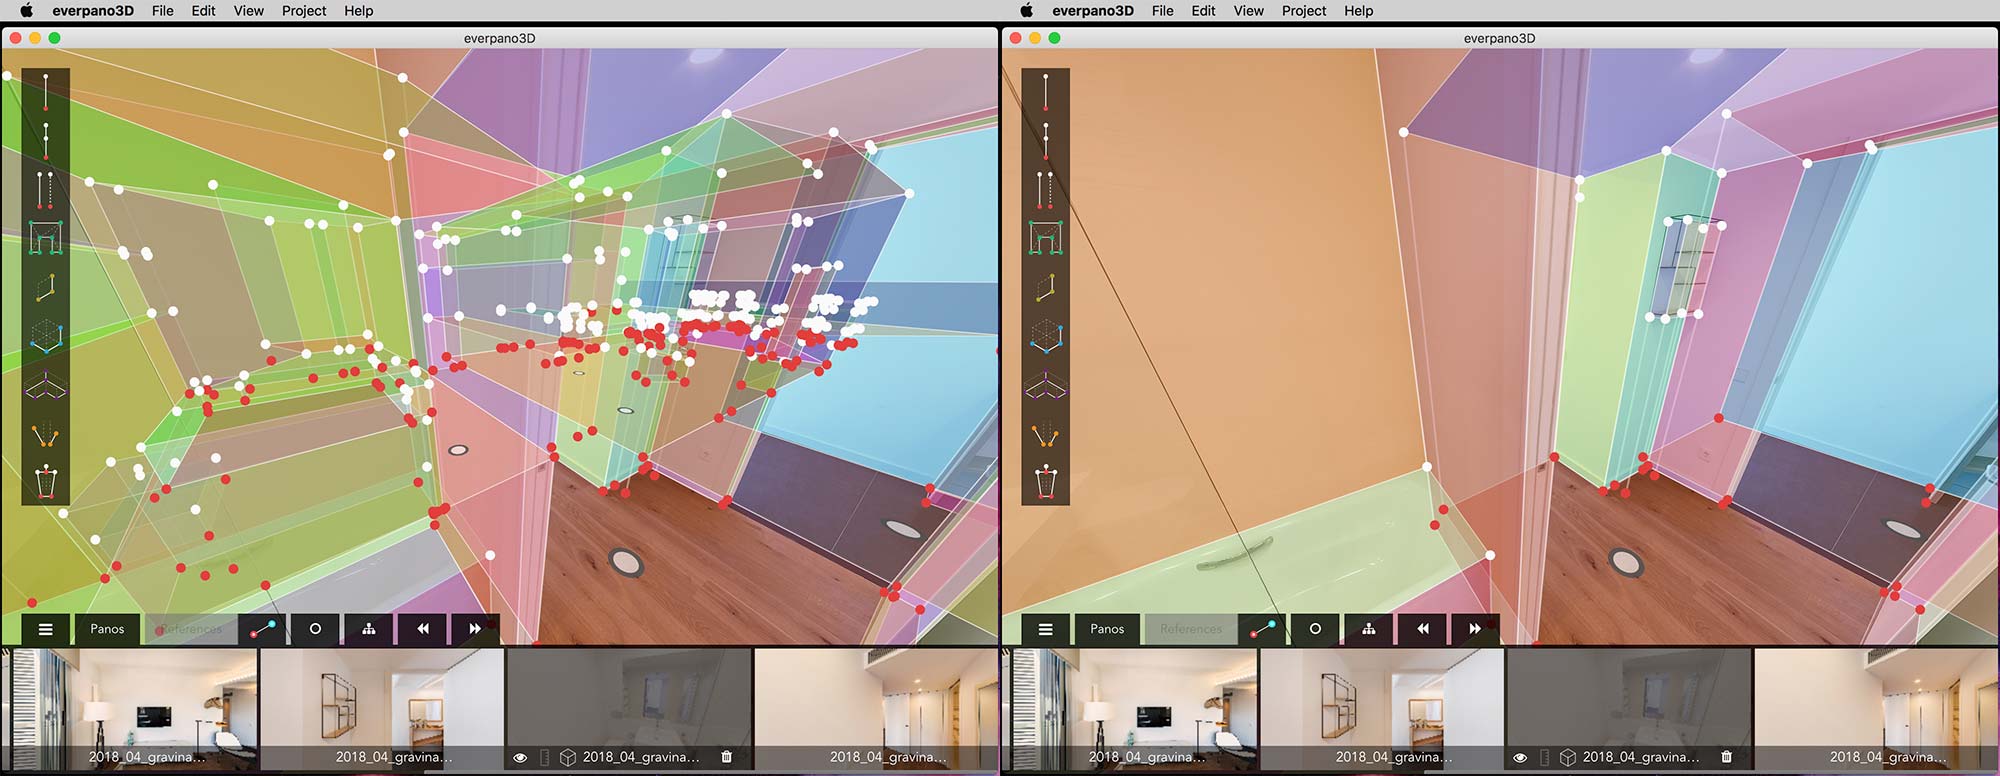
5.- Hide extra geometry
Sometimes you will find you have a model with a lot of geometry, that will probably be annoying when modelling in a new panorama from the same model. For that you can easily hide the geometry, by hiding step by step parts (vertical lines, 3d model or references) or just hide all. Once hided all the new geometry you create will be shown so that's is very useful to model on new panoramas. After that, just take in care that thw rest of geometry is hidden, and you can just show it again by click on show all.
-
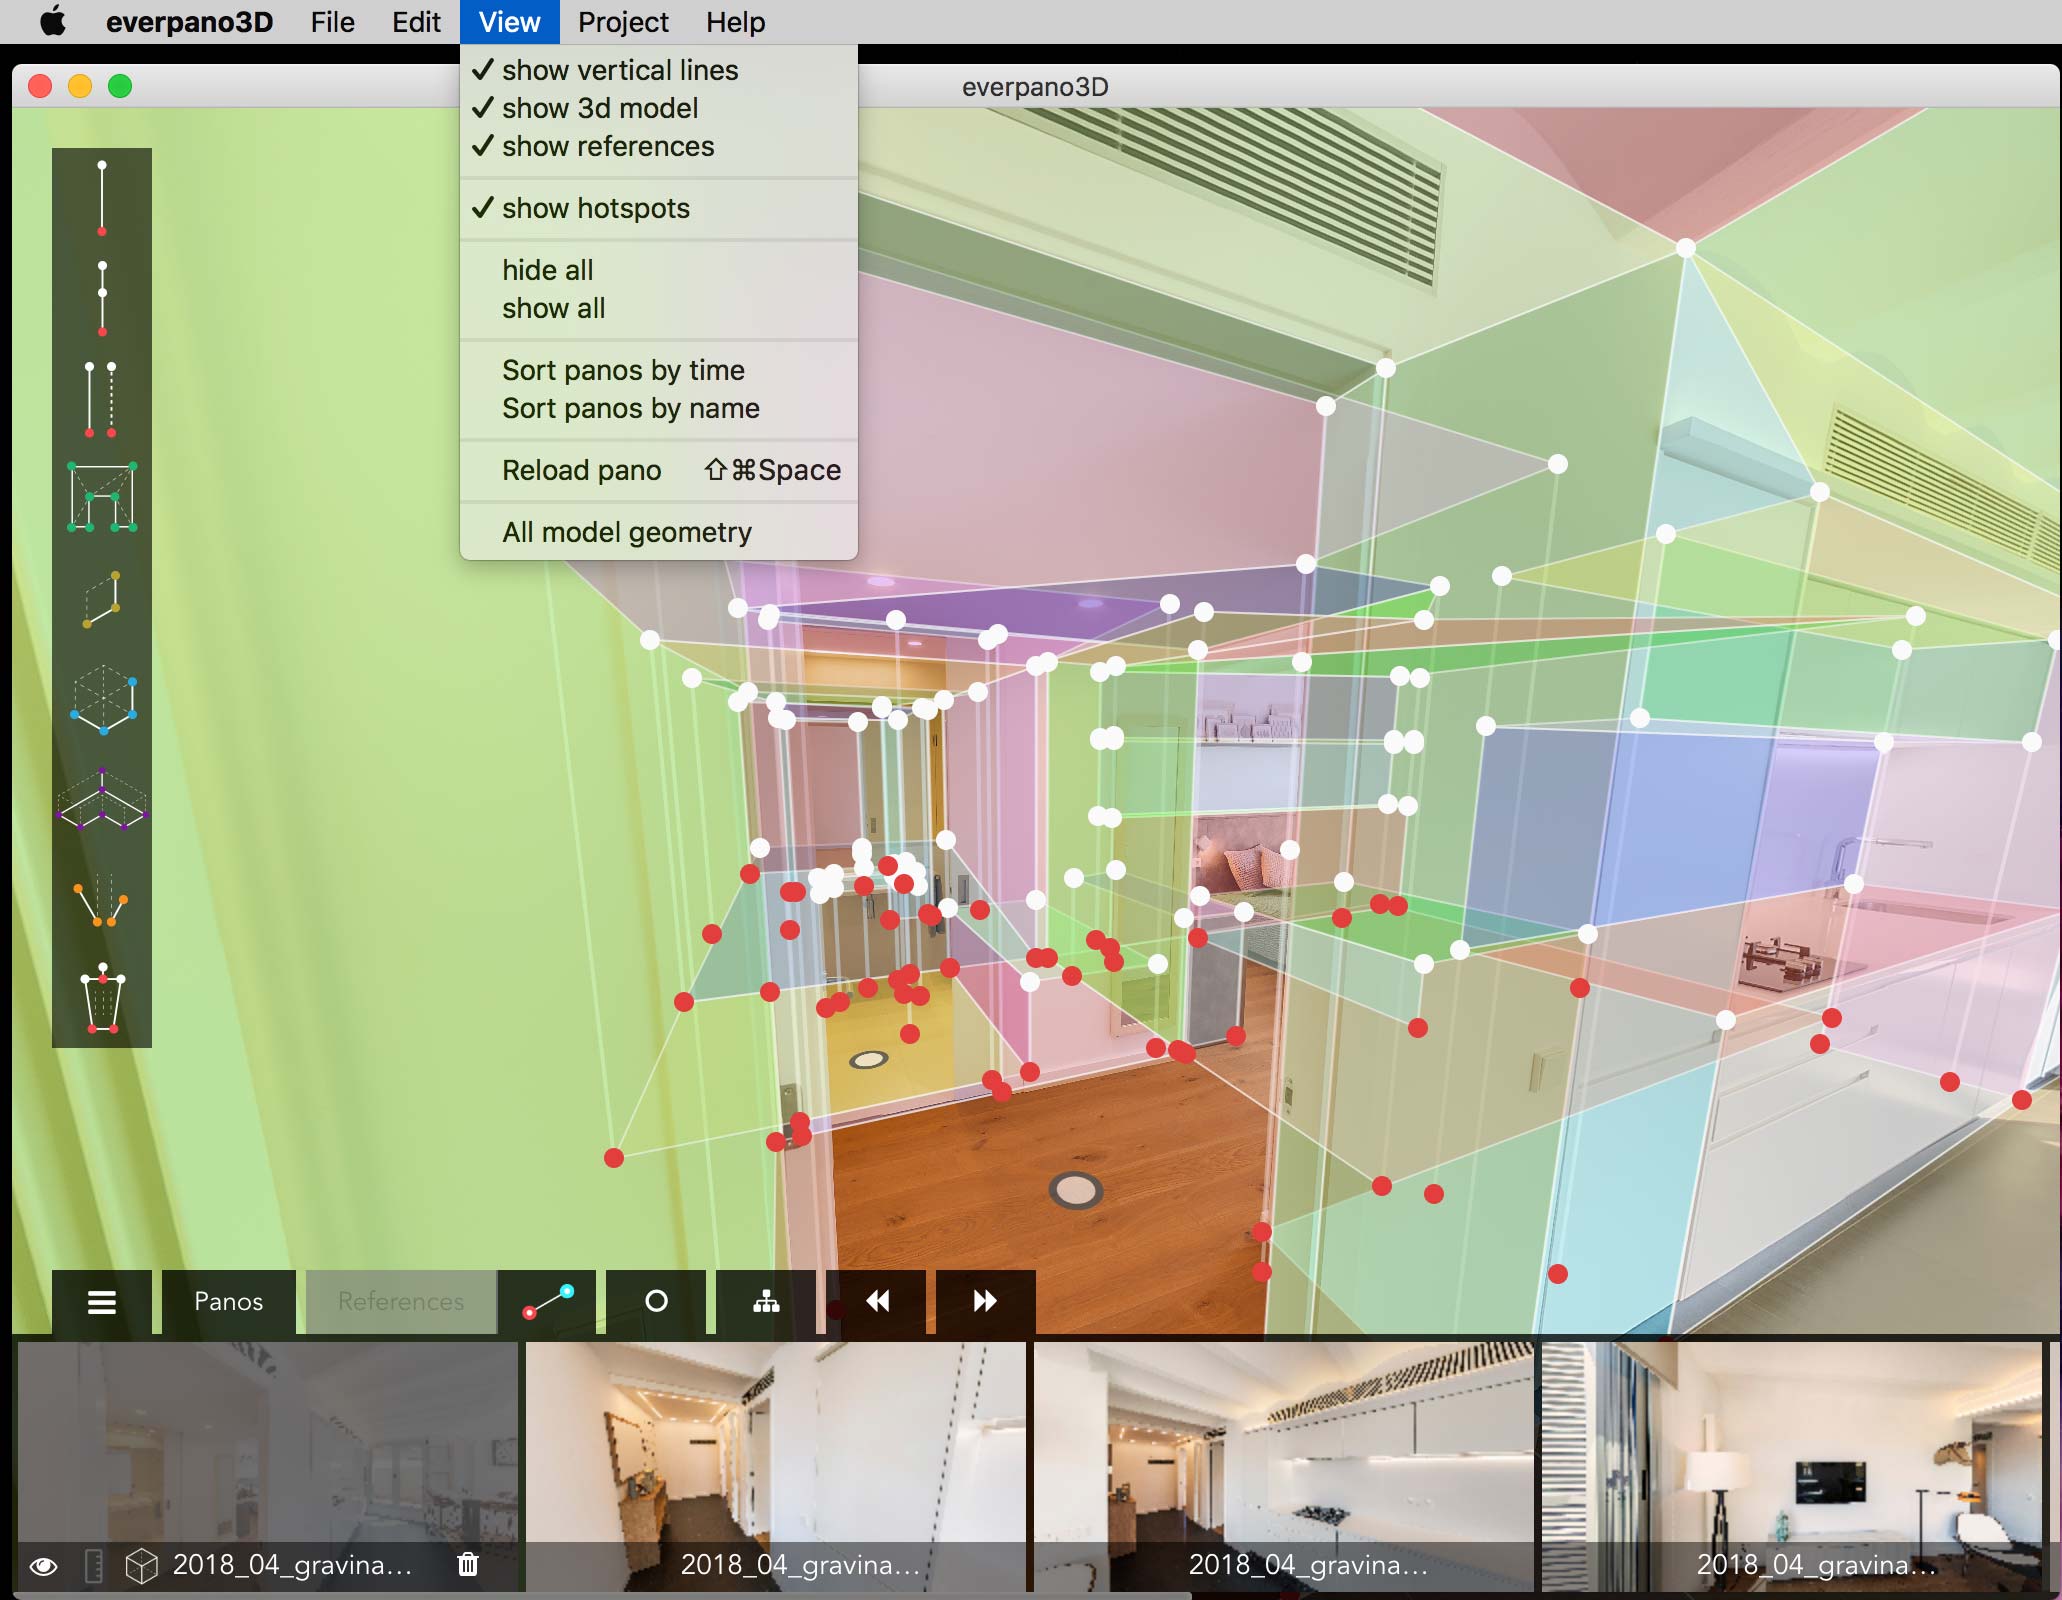
6.- What is shown in the screen
When we load a new panorama, those geometry elements that are positioned behind some other elements and are completely hidden, that geometry is by default not printed on screen, this way we can have a more simple view.
-
7.- Reload the pano
After working a bit in a pano you will find your self that you have created new polygons that are just over other ones, therefore you could avoid printing some, here is very useful to use the reload pano feature
⌘ + shift + space in mac or Ctrl + shift + space in windows. -
8.- Check triangulation

Every time you create a polygon, the app will show you how the triangulation have been done. It should normally work well in most cases, but there are some exceptions you should take in care:
1.- you can not make polygons bigger than 180º.
2.- you can not draw polygons that intersects them self.
In any case, as you can check how the app is solving the polygon you just draw, if you appreciate any wrong triangle, you can just delete that polygon and make it smaller. Also by clicking ⇧ + a and getting over the desired polygon it will show you the results, if it's a simple polygon it will just highlight.
Check the full video
Modelling Tools
-
 Vertical Line
Create a vertical line, by making one single click in the ground level. A second point will be created in order to make the line. User can drag the red dot (ground level), the other points, which will be white, can be just dragged vertically in order to adjust to geometry dimensions.
-
 Add point
Once a vertical line has been created, using this tool will allow user to create multiple new points in that line, as said previously, user can only drag vertically those points, in both directions of course.
-
 Duplicate line
By selecting that tool and clicking to the vertical lines, user will get a duplicated line.
-
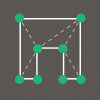 Add polygon
User can create a 3d polygon by clicking on the vertices of vertical lines.
-
 Add vertical plane
By making 3 clicks 2 on the floor and the last one indicating the height, user easily creates a vertical plane.
-
 Add cube
Create a cube shape by just making 4 clicks, 3 on the floor and the last one indicates the height of the cube.
-
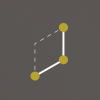
 Add extruded polygon
This tool will allow user to quickly draw a polygon on the floor and once the polygon is closed the last click will define the height of extrusion for the polygon.
-
 Align panorama
This tool allow user vertically align panorama. When the panoramas have been stitched with software like PTGui or AutoPano Giga, the images should already be correctly aligned, but when that source comes from one shoot cameras like Ricoh Theta, there can be slightly miss alignments.
* this tool is only available for mac version in everpano 3D 1.1
-
 Delete element
Once that tool is selected, any type of element (point, line, polygon) can be deleted. Just as note, if we create a cube, we are creating 4 vertical lines, 8 vertices and 6 polygons, that are the elements that could be deleted.